This tool is designed to work in conjuction with the "2D Results" tool. It enable to save up to 4 DICOM tag values in the Excel result file.
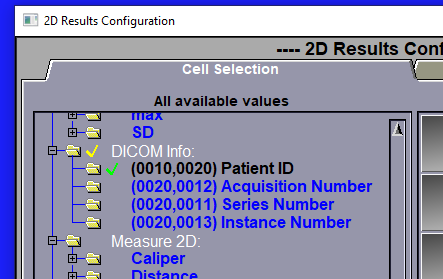
The 4 tags that are defined in the interface of the "DICOM Info" tool will be seen by the configuration page of the "2D Results" tool and can be selected. If some of the 4 tags are selected for the result file, the value of these DICOM tags, for each selected slice, will be saved in the Excel result file.
|
|
|
|
|
DICOM Info tags seen in the "2D Results" interface
|
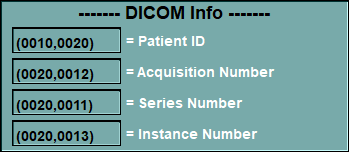
From the Graphic Interface
|
|
|
|
DICOM tag |
This is the ID of the DICOM tag you want to save. The syntax is (group,element) where the group and element are 4 digit exadecimal values. To change the default values, just place the cursor over the DICOM tag and type in a new ID. When you press enter, this ID will be analysed by the program, the "Tag name" will then be changed to the name of this new DICOM tag. If the program does not recognize the new ID, it will reject it and keep the original ID.
|
|
Tag name
|
This is the name of the tag as defined in the DICOM tables in "DICOM Tables" sub-directory of the instalation directory. |
From the Display Area
There is no Display Area interaction specific to this tool.
From the Keyboard
There is no keyboard interface specific to this tool.
From the Command Line
DCM_Info: tag id group element
Set the group and element values for the DICO tag at position id (id = 1 to 4). Group and element are 4 digit hexadecimal codes.
Note:
|
|
|